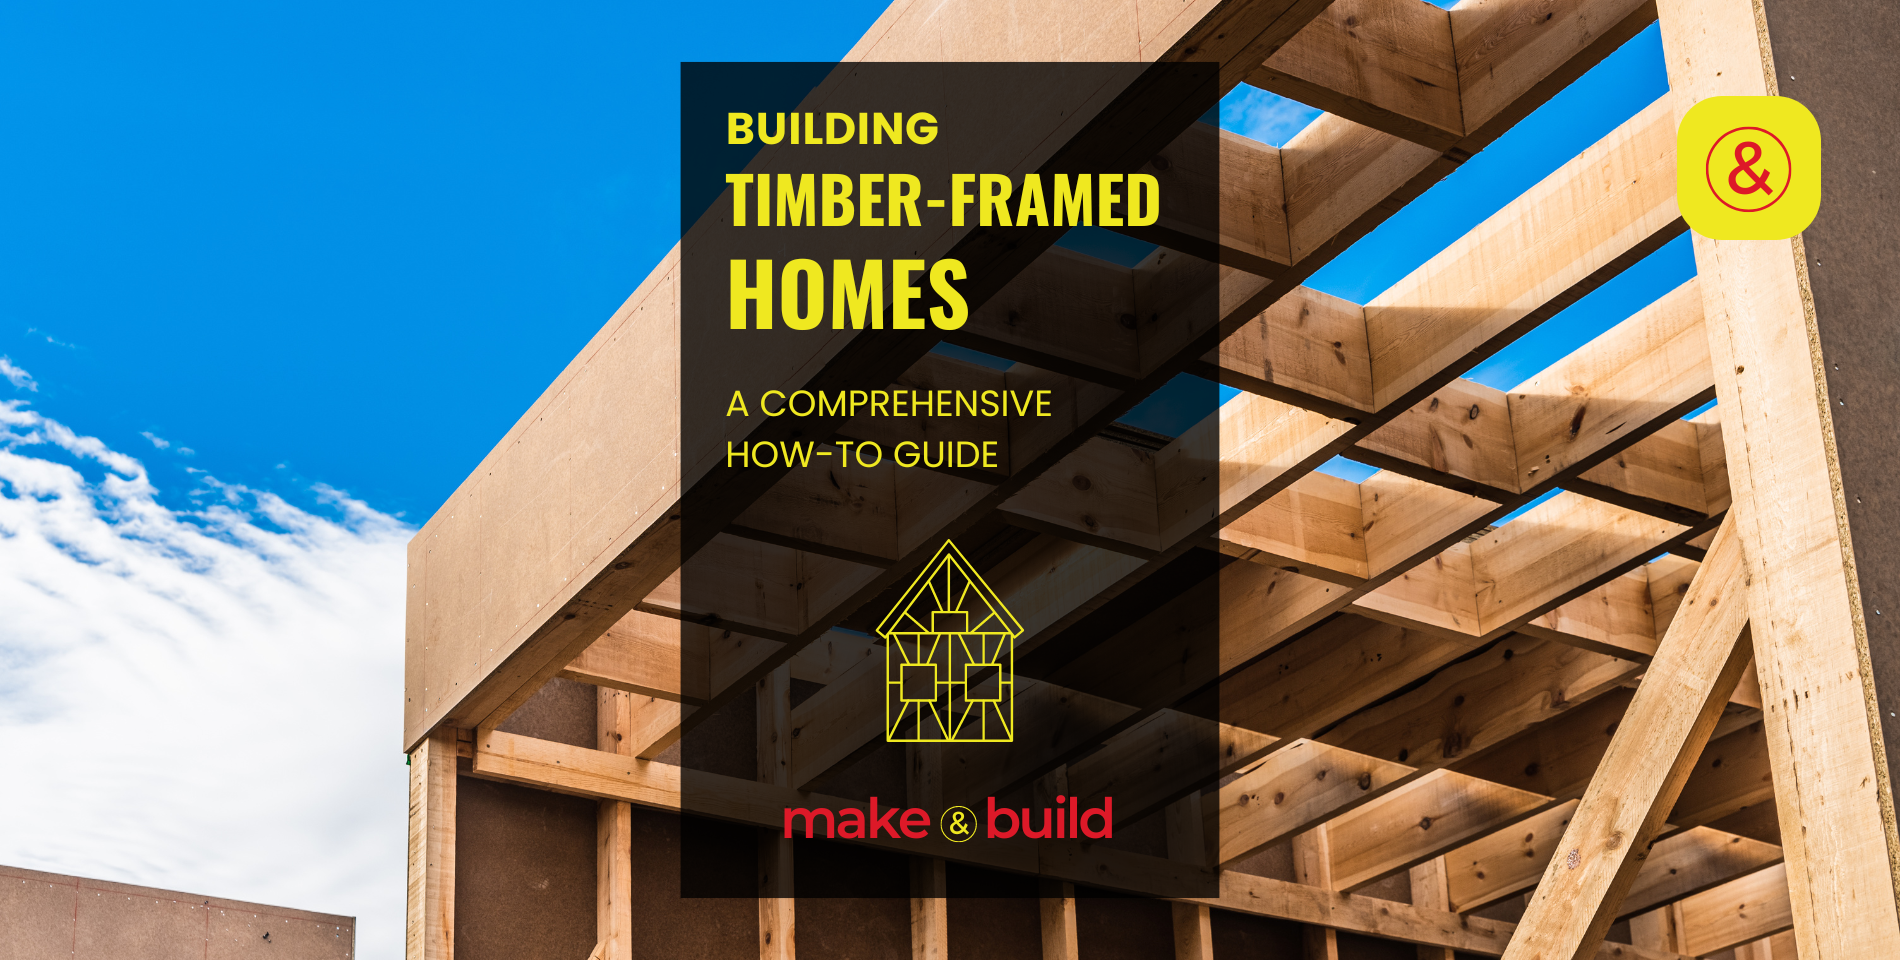
Traditional timber framing is a method of building that has withstood the test of time, revered for its durability, beauty, and environmental sustainability. Known for using large wooden beams interlocked with precise joinery, this technique creates structures that are both robust and aesthetically pleasing.
This guide will walk you through the basics of how to plan, design, and construct a traditional timber-framed home, highlighting the key skills, materials, and considerations involved in the process.
Step 1: Understanding Timber Framing
Timber framing is a classic method of building that uses large wooden beams to create a structural framework.
This framework serves as the main support for the house, including its walls and roof. The beauty of timber framing lies not only in its aesthetics but also in its engineering principles that allow buildings to withstand time and elements. Here’s what you need to understand about timber framing before diving into your building project:
The Basics of Timber Frame Construction
• Structural Integrity: Timber frames are made from heavy timbers that are carefully joined together without the use of nails or metal fasteners. This type of construction is known for its strength and durability. The frame itself carries the load of the building, reducing the need for interior supporting walls and thus allowing for more open and flexible interior spaces.
• Joinery Techniques: The joints used in timber framing are what make it distinct. Common joints include the mortise and tenon, dovetails, and lap joints. These are often secured with wooden pegs, also known as treenails, which lock the timbers together. Mastering these joinery techniques is crucial, as the stability of the entire structure depends on the precision of these connections.
Historical Context
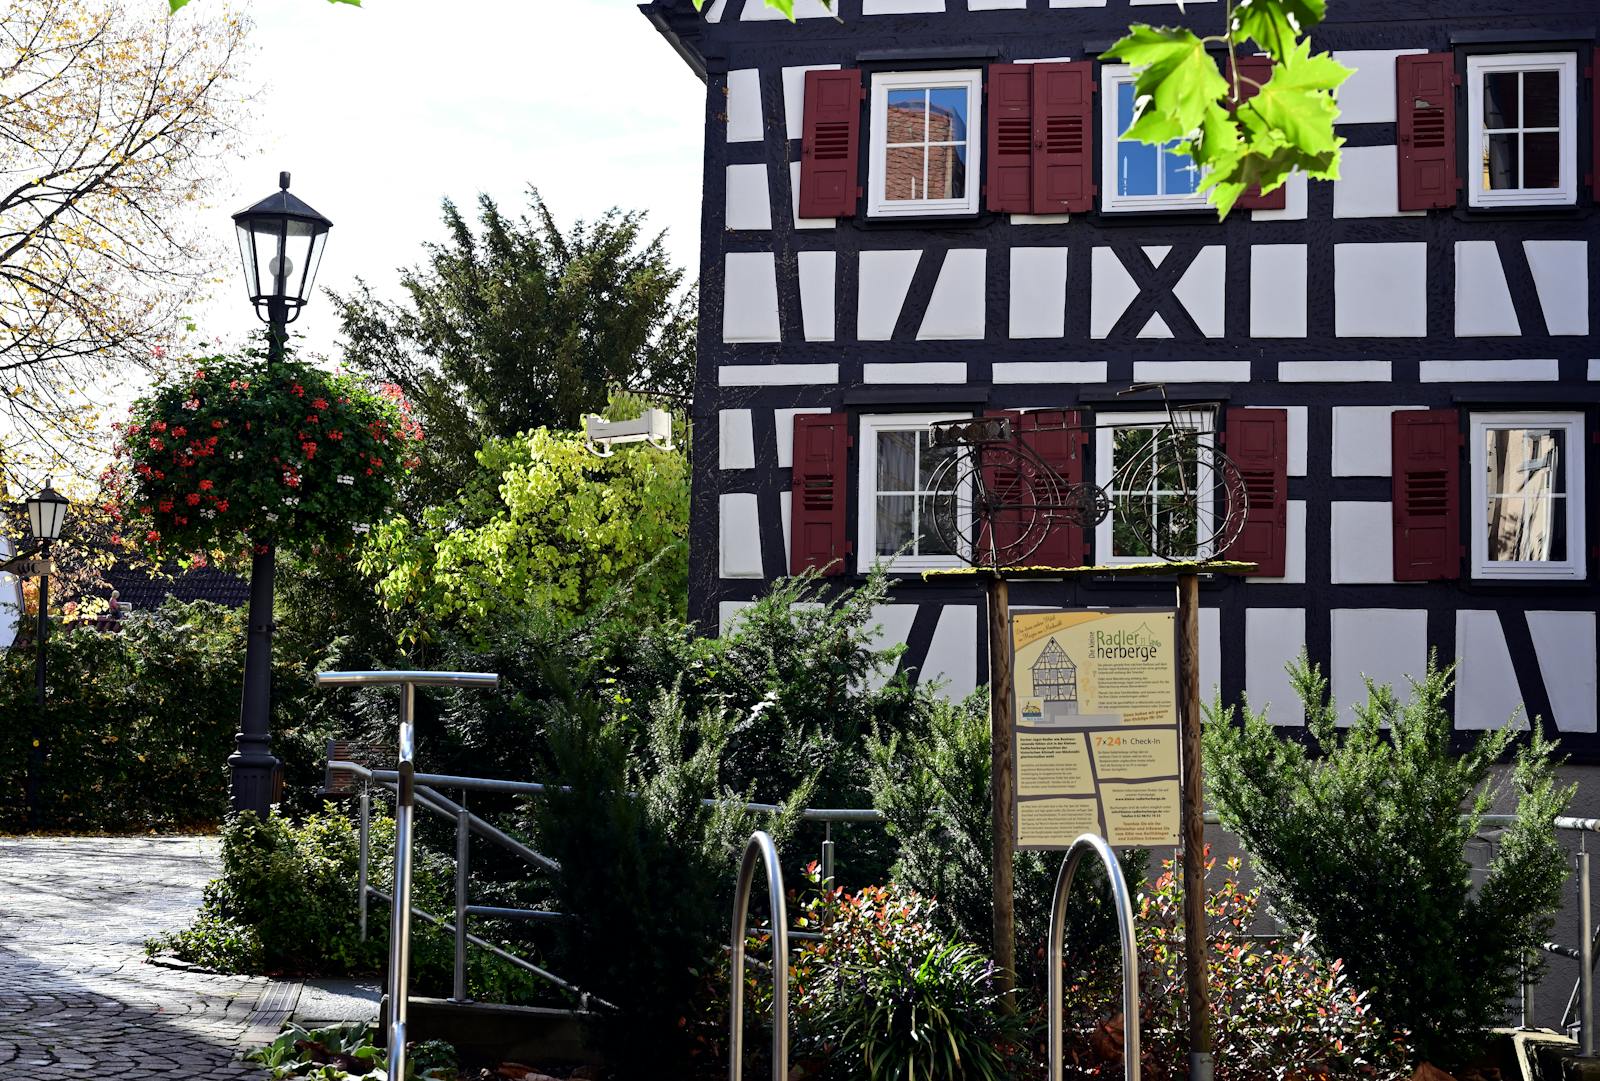
• Cultural Heritage: Timber framing has a rich history that spans many cultures and centuries. Originating over a thousand years ago, it was a predominant building method in parts of Asia and Europe and later in North America. Understanding the historical applications and regional variations can provide inspiration and insight into your own design.
• Evolution of Techniques: Over the centuries, the methods and styles of timber framing have evolved. In Japan, for instance, intricate joinery developed as a response to the need for earthquake-resistant structures. In Europe, different styles emerged based on local climate, available materials, and cultural preferences.
Modern Timber Framing
• Technology and Tools: Today, timber framers blend traditional craftsmanship with modern technology. Computer-aided design (CAD) and computer numerical control (CNC) machines are often used in the design and cutting of the timbers, ensuring greater accuracy and allowing for more complex designs.
• Sustainability: Modern timber framing continues to be one of the most sustainable forms of construction. Timber is a renewable resource, and its use in building sequesters carbon dioxide for the lifetime of the structure. Moreover, timber framing often utilizes local wood, reducing transportation emissions and supporting local economies.
Educational and Practical Resources
• Workshops and Courses: Many timber framing associations and craft schools offer workshops that cover everything from basic joinery to complex frame designs. These courses are invaluable for anyone serious about undertaking a timber framing project.
• Community and Collaboration: Timber framing is traditionally a community-oriented build, involving many hands and skills. Engaging with a community of timber framers can provide support, deepen your understanding, and enhance your skills.
Planning Your Project
• Blueprints and Specifications: Before you start building, detailed blueprints and specifications must be prepared. These documents will guide every aspect of the construction process and ensure that the building meets structural requirements and personal expectations.
• Regulations and Permits: Familiarize yourself with local building codes and regulations. Obtaining the necessary permits is essential before construction begins to ensure that your timber frame home complies with all local and national building standards.
Step 2: Designing Your Home
Before any actual building begins, designing your timber frame home is crucial. This includes deciding on the layout, size, and style of the house. Consider employing an architect experienced in timber framing to help translate your vision into detailed plans and blueprints. Using modern tools like CAD software can help in visualizing and adjusting the design before construction starts.
Defining Your Vision
Begin by establishing the architectural style of your home.
Timber frames offer versatility and can support various designs from rustic farmhouses to sleek modern structures. Reflect on how the characteristics of timber framing, such as exposed beams and open spaces, can be incorporated into your desired aesthetic. Additionally, consider your lifestyle needs—think about the number of bedrooms, bathrooms, and special areas like home offices, ensuring the layout accommodates your daily activities and facilitates easy interactions within the home.
Sketching Preliminary Designs
Initiate the design process with rough sketches that outline the basic layout. These initial drawings help visualize room arrangements and the flow throughout the house, addressing factors like natural lighting, views, and the relationship between indoor and outdoor environments. Early collaboration with a designer or architect, especially one experienced in timber framing, can provide valuable insights, helping to refine your ideas and introduce creative and practical elements into your design.
Technical Considerations
Important technical details involve understanding the load-bearing capabilities of your timber frame. Since the structure’s timber frame will support significant weight, planning the placement of these frames is crucial. This phase also includes decisions on integrating other materials like glass, stone, or metal, which can complement the wood and add diverse textures and colors to both interiors and exteriors.
Advanced Architectural Planning
Transition to more detailed floor plans after the initial sketches. These should be comprehensive, including precise dimensions, and the positioning of electrical, plumbing, and other critical systems. Refinements often occur at this stage, requiring adjustments to ensure practical and aesthetic goals are met. Employing CAD software to create 3D models of your home can significantly aid in visualizing spaces, understanding the home’s flow, and identifying potential issues before construction begins.
Energy Efficiency and Sustainability
Optimizing energy efficiency is key in your design strategy. While timber frames naturally provide good insulation, enhancing this through additional methods such as straw bale insulation or high-performance panels is beneficial. Planning for effective ventilation is equally important to ensure good indoor air quality. Moreover, consider the orientation of your home to maximize natural light and solar gain, which can help in reducing heating costs and provide natural warmth during cooler months.
Finalizing the Design
Once your design has undergone all necessary refinements and adjustments, it’s time to finalize the blueprints. These documents must be detailed, covering every aspect of construction, and should be vetted by an engineer to confirm that the timber framing is structurally sound. Before moving to construction, submit these plans for local authority approval to secure the necessary building permits, ensuring your home complies with all zoning and building regulations.
Step 3: Selecting the Right Timber
Choosing the right timber is a critical decision in the construction of a timber-framed home.
The type of wood you select not only affects the appearance and longevity of your home but also its structural integrity and environmental impact. Here’s a comprehensive look at the factors to consider when selecting timber for your building project.
Types of Timber and Their Properties
Different species of wood have unique characteristics that make them more or less suitable for timber framing. Some of the most commonly used timbers include:
- Oak: Known for its strength, durability, and resistance to rot, oak has been a traditional choice for timber framing for centuries. Its dense grain provides excellent structural integrity and aesthetic appeal, making it ideal for frames that will be exposed as part of the interior design.
- Douglas Fir: Popular in North America, Douglas fir offers a good balance of strength, flexibility, and resistance to decay. It has a straight grain that makes it easier to work with, which is particularly beneficial for intricate joinery.
- Pine: Varieties like Eastern White Pine are used for their ease of use and affordability. Pine is lighter than oak and Douglas fir, which can make handling and assembly easier. However, it is generally less resistant to decay unless properly treated.
- Cedar: Renowned for its natural resistance to moisture, decay, and insect infestation, cedar is an excellent choice for exterior elements of timber-framed homes, though it is more commonly used for cladding and roofing than for structural frames.
- Larch: Known for its tough, waterproof qualities, larch is another excellent option for timber framing. It has a high resin content which helps protect against rot.
Sustainability and Source
The environmental impact of your timber choice is another significant consideration. Opt for wood harvested from sustainably managed forests, which helps promote forest health and biodiversity. Certifications such as those from the Forest Stewardship Council (FSC) or Sustainable Forestry Initiative (SFI) can guide you to make environmentally responsible choices.
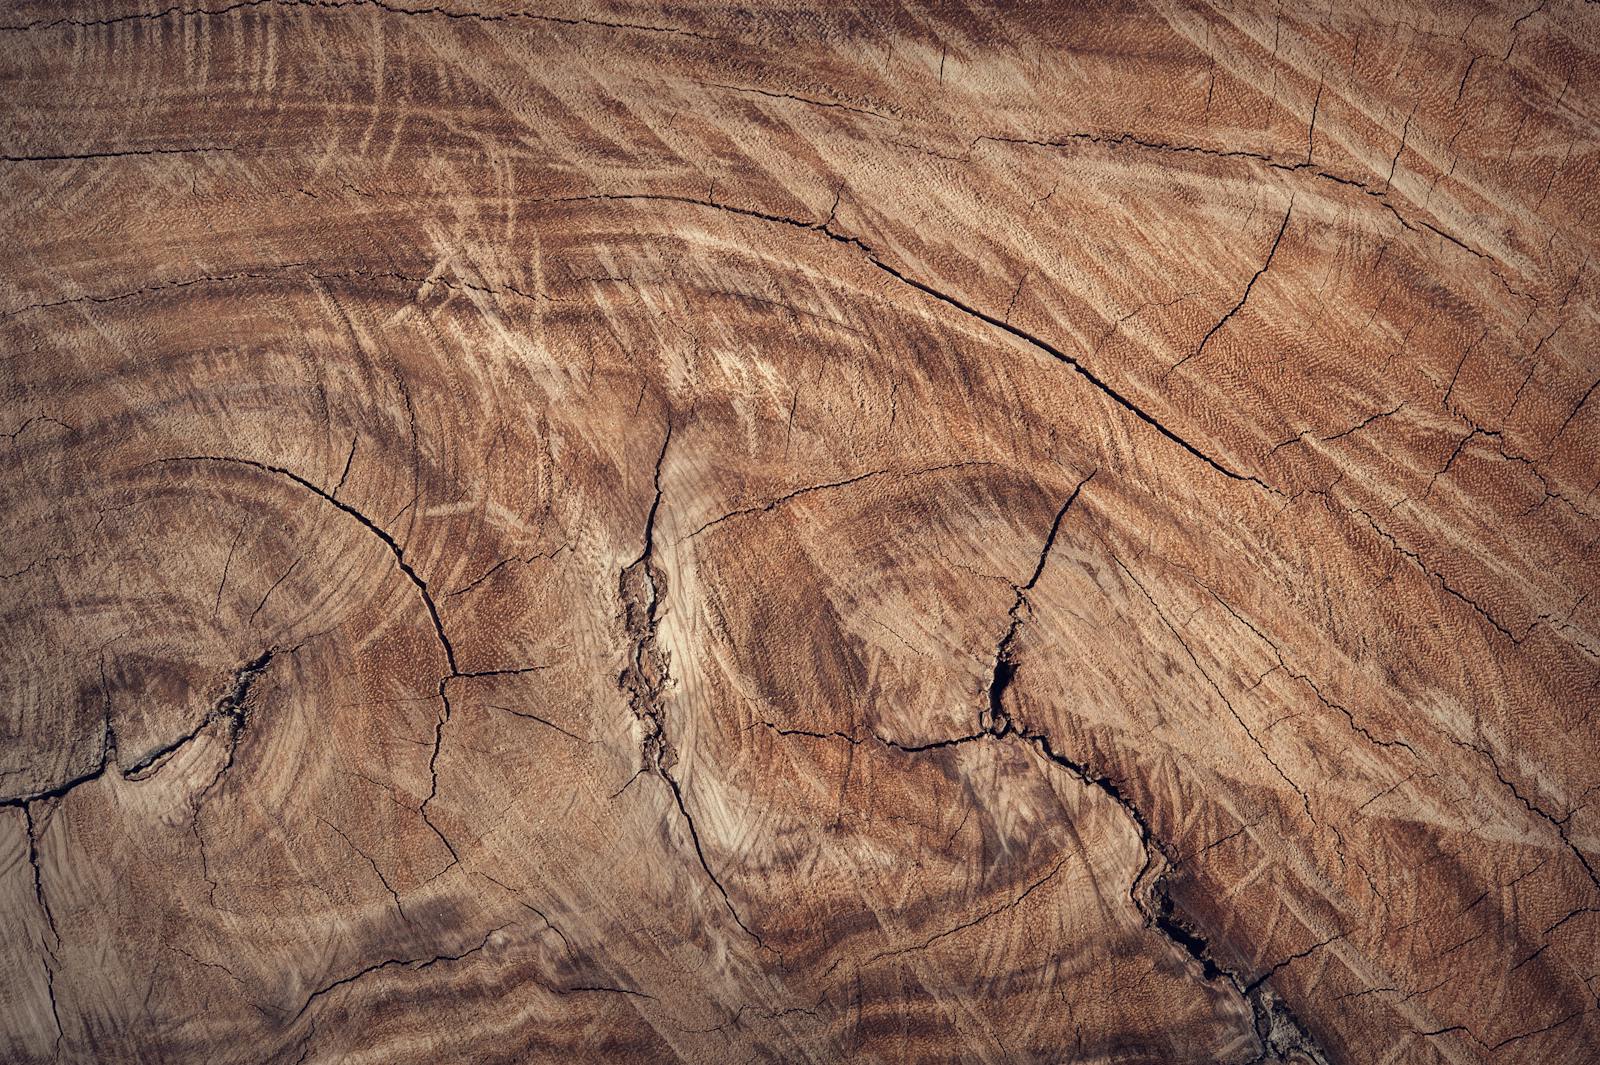
Timber Seasoning and Treatment
Before timber can be used for construction, it needs to be properly seasoned. This process involves drying the timber to remove moisture content, which stabilizes the wood and reduces the risk of shrinkage, warping, or splitting after construction. There are two main methods for seasoning timber:
- Air Drying: Timber is stacked and left to dry naturally over time. This process is slower but tends to preserve the natural color and reduces the risk of cracking compared to faster methods.
- Kiln Drying: This controlled process uses heat to rapidly dry timber. Kiln drying is faster and allows for more precise control over the final moisture content, making the timber less prone to distortions.
In addition to seasoning, some timbers may require treatment to enhance durability, especially if they are prone to decay or insect attack. Natural treatments or less toxic chemical alternatives can provide protection while maintaining the environmental friendliness of your project.
Aesthetic Considerations
The visual appearance of the timber can significantly impact the interior and exterior aesthetics of your home. Consider the grain pattern, color, and texture of the wood, and how these will complement your design. Some species like oak develop a rich patina over time, adding character and warmth to the home.
Structural Assessment
Finally, ensure that the timber you choose is capable of bearing the structural loads it will encounter in your home. Consulting with an engineer or an experienced timber framer can help you select wood that not only meets your aesthetic preferences but also complies with structural requirements.
By carefully selecting the right timber, you ensure that your timber-framed home is beautiful, durable, and environmentally conscious. This step sets the foundation for a structure that will stand the test of time and provide a warm, inviting atmosphere for years to come.
Step 4: Cutting and Shaping the Timbers
Once you have selected the appropriate timber for your project, the next critical phase is cutting and shaping the timbers to fit your design. This step involves precise craftsmanship and a deep understanding of how timber behaves. Here’s a detailed look at the process of preparing your timbers for assembly.
Preparation and Layout
Before any cuts are made, each piece of timber needs to be thoroughly inspected for any defects, such as knots, splits, or irregular grain patterns, which could affect structural integrity. Once cleared, the timbers are marked for cutting according to the detailed plans and blueprints. This layout process is crucial for ensuring that each piece will fit perfectly with the others in the frame structure.
Cutting Techniques
Timber framing requires various types of cuts to form the joints that will hold the structure together. Some common cuts and techniques include:
- Cross-Cutting: This is the basic cut used to size the timbers to length. It must be done precisely to ensure that the ends of the beams are square, which is critical for a good fit in the frame.
- Mortise and Tenon Joints: One of the most common joints in timber framing, the mortise (a hole) and the tenon (a tongue) must be cut so that the tenon fits snugly into the mortise. This joint is often secured with wooden pegs, adding to the stability and aesthetic of the frame.
- Scarf Joints: Used to join two pieces of timber end-to-end, scarf joints must be cut so that they distribute the structural load evenly. The precision of these cuts is crucial to maintaining the integrity of the frame.
- Dovetail Joints: Often used in corners, dovetail joints provide a strong mechanical lock that resists pulling apart. These joints are not only strong but also visually appealing, adding to the aesthetic value of exposed frames.
Tools Used in Timber Cutting
The quality of tools used can significantly affect the precision and ease of cutting. Traditional hand tools such as chisels, hand saws, and mallets are still used, especially in custom or artisanal projects. However, modern timber framers often use power tools and machinery to increase efficiency and accuracy. Some commonly used tools include:
- Chainsaws and Circular Saws: For making rough cuts to size the timbers.
- Chisel and Mallet: For finer work such as carving out mortises and crafting tenons.
- Router: To clean out mortises and ensure a smooth, uniform finish.
- Drill Press or Hand Drill: For boring holes for pegs in the mortise and tenon joints.
Quality Control and Assembly Testing
After the timbers have been cut and shaped, it’s important to test-assemble sections of the frame to ensure everything fits together perfectly. This dry run helps identify any adjustments that need to be made before final assembly. It also allows craftsmen to address any potential issues that could arise during the actual construction.
Finishing
Once all pieces have been properly cut and tested, they may undergo a finishing process before assembly. This can include sanding to remove any rough edges and applying protective stains or sealants that help preserve the wood and enhance its natural beauty.
Step 5: Assembling the Frame
Assembling the frame is a pivotal and visually rewarding stage in building a timber-framed home.
This step involves erecting the precisely cut and shaped timbers into a sturdy and cohesive structure. Proper assembly is critical to ensure that the frame not only stands strong but also aligns accurately with the architectural plans. Here’s a detailed guide to the assembly process of a timber frame.
Site Preparation
Before the timbers can be raised, the construction site must be prepared. This includes ensuring that the foundation is complete, level, and strong enough to support the weight of the timber frame. The layout of anchor bolts or other securing mechanisms should match the frame design to ensure that the frame can be securely attached to the foundation.
Organizing the Timbers
As the timbers arrive on site, each piece should be organized and laid out according to where it will be placed in the structure. This organization is crucial for efficiency and accuracy during the assembly process. Each timber is typically labeled based on the frame plans, and these labels should be checked to ensure that all pieces are accounted for and correctly positioned for assembly.
Raising the Frame
Timber frame raising is often a community or team effort, sometimes done in a celebratory atmosphere reminiscent of traditional barn raisings. The process generally follows these steps:
- Erecting Bents and Sections: The frame is assembled in large sections called bents or panels on the ground. A bent typically consists of two vertical posts connected by a horizontal beam or tie at the top. Once a bent is assembled, it is raised upright and temporarily braced.
- Joining Bents: After the bents are raised and secured, they are connected to one another with additional beams, purlins, and braces. This gradually forms the complete skeleton of the building.
- Using Lifting Equipment: For larger frames or where manual lifting is impractical, cranes or other mechanical lifting equipment are used to raise and position the heavy timbers.
Securing the Joints
Once the frame is up, each joint must be secured meticulously. This typically involves:
- Pegging: Driving wooden pegs through the pre-drilled holes in the mortise and tenon joints to lock them in place.
- Checking Alignment: Ensuring that all parts of the frame are correctly aligned and level. Adjustments should be made before the structure is fully secured, as misalignments can cause issues with load distribution and the fitting of other building components like doors and windows.
Temporary Bracing
The entire structure is often temporarily braced to maintain stability until the frame can be permanently secured and additional structural elements like walls and the roof are added. Temporary bracing helps prevent any movement caused by wind or the weight of the timbers themselves.
Inspection
After the frame is assembled and before moving on to enclosing the structure, it’s crucial to conduct a thorough inspection. This review ensures that all elements are correctly installed, the frame is stable, and there are no issues with the wood or the joints. Any discrepancies found during inspection should be addressed immediately to prevent future complications.
Preservation Treatments
Once the frame is up and before it is enclosed, it is an opportune time to apply any additional protective treatments to the wood. These might include water or insect repellent treatments that help extend the life of the wood and maintain its natural beauty.
Step 6: Enclosing the Frame
Once the timber frame structure is assembled and secured, the next major phase is enclosing the frame.
This step involves adding walls, windows, doors, and the roof to protect the interior from the elements and to start defining the indoor environment. Proper enclosure is critical not only for the building’s functionality and comfort but also for its energy efficiency and durability. Here’s an in-depth look at the process of enclosing a timber-framed home.
Installing the Roof
The roof is typically one of the first major components installed after the frame is raised. This is crucial for protecting the timber frame and the interior of the building from weather exposure as soon as possible.
- Choosing Roofing Materials: The selection of roofing materials can depend on aesthetic preferences, climate, and sustainability considerations. Common choices include metal roofing for its longevity and fire resistance, traditional tiles for aesthetic appeal, and shingles for their cost-effectiveness.
- Structural Sheathing: This is installed over the rafters or trusses of the timber frame. Plywood or oriented strand board (OSB) are commonly used for sheathing because they provide a stable base for roofing materials and add rigidity to the roof structure.
- Insulation and Ventilation: Proper insulation and ventilation in the roof are essential to prevent heat loss and manage moisture. This can involve installing rigid foam, batt insulation, or using specially designed breathable membrane systems that also prevent water ingress while allowing moisture from inside the house to escape.
Exterior Walls
Enclosing the walls involves several layers of construction, each adding to the building’s thermal performance, weather resistance, and overall strength.
- Sheathing: Similar to the roof, the walls are typically sheathed with plywood or OSB to provide a flat, sturdy surface for attaching exterior finishes and to help brace the frame against wind and seismic forces.
- Weather-Resistant Barriers (WRB): A WRB is applied over the sheathing to protect the wall from water penetration while allowing moisture from inside the home to escape, preventing mold and water damage.
- Insulation: Wall insulation is critical for energy efficiency. Options include fiberglass batts, spray foam, or sustainable materials like cellulose or wool. The choice of insulation should meet local building codes for thermal resistance (R-value).
- Exterior Finishes: The final layer includes materials like siding, brick, or stucco. These not only define the look of your home but also provide the first line of defense against the elements.
Windows and Doors
The placement and installation of windows and doors are critical for both aesthetics and the building’s energy performance.
- Choosing Windows and Doors: Select units that provide good thermal insulation (double or triple-glazed), and that match the architectural style of the home. The placement should maximize natural light and views while considering energy efficiency and privacy.
- Installation: Proper installation is crucial to prevent air and water leaks. Flashing and sealing around windows and doors must be done meticulously.
Interior Walls
Interior walls are not load-bearing in a timber frame home, which allows greater flexibility in the layout and materials used.
- Framing: Interior walls are typically framed with lighter materials since they do not support the structure. Metal or wood studs are common choices.
- Electrical and Plumbing: Before the walls are closed with drywall or another wall covering, all electrical wiring and plumbing must be installed and inspected.
- Drywall and Finishes: Finally, drywall is installed, finished, and painted. Other options may include wood paneling or plaster, depending on the desired look.
Finalizing the Enclosure
With the roof, walls, windows, and doors in place, the building is now protected from the elements, and work can continue inside regardless of weather conditions. This phase shifts the building site from an exposed structure to one that resembles a complete house, marking a significant milestone in the construction process.
Step 7: Interior and Exterior Finishing
After the structure is enclosed, the final phase of construction involves both interior and exterior finishing.
This stage transforms the functional structure into a fully realized home, focusing on aesthetic elements, comfort features, and final touches that reflect personal style and preferences. Here’s a comprehensive look at the process of completing the interior and exterior finishes of a timber-framed home.
Exterior Finishing
The exterior finish of a home is not only about curb appeal but also plays a vital role in protecting the structure from the elements. The choices made here can impact the longevity and maintenance requirements of the home.
- Siding: Options for siding materials are varied, including wood, vinyl, fiber cement, or stone veneer. Each has its own aesthetic appeal and performance characteristics. Wood siding, for instance, complements the timber frame’s natural look but requires more maintenance compared to more durable materials like fiber cement.
- Painting and Staining: Exterior painting and staining are about more than just color. Properly applied finishes protect the building’s surfaces from weathering and UV damage. Choosing high-quality, durable exterior paints or stains can help extend the life of the materials.
- Trim and Details: Final touches like trim around windows and doors, fascia boards, and soffits can define the architectural style of the home. These should be chosen to complement the overall design and properly installed to ensure durability and resistance to the elements.
Interior Finishing
Interior finishing involves a wide range of tasks that contribute to the aesthetics, comfort, and functionality of the home.
- Drywall and Paneling: Walls and ceilings are typically covered with drywall, which is then taped, mudded, and sanded for a smooth finish before painting. Alternatives like wooden paneling can be used to enhance the rustic aesthetic of a timber frame.
- Flooring: Choices in flooring include hardwood, tile, carpet, and laminate. Each option offers different benefits in terms of comfort, durability, maintenance, and style. Hardwood floors are a popular choice for their warmth and timeless appeal, complementing the wooden structure.
- Cabinetry and Fixtures: The installation of cabinetry in kitchens and bathrooms involves careful planning to ensure both functionality and style. Fixtures like faucets, sinks, and lighting should be selected to match the interior design theme while providing the necessary performance.
- Paint and Wallpaper: Color plays a crucial role in interior design. Paint and wallpaper not only add color but also texture and depth to rooms. Choosing the right shades can influence the perceived space and light within rooms.
Energy Efficiency and Building Systems
As part of the interior finishing, it’s important to address the home’s energy efficiency and systems:
- HVAC System: Installing heating, ventilation, and air conditioning systems requires careful integration into the design to ensure efficiency and comfort. The layout of ductwork and equipment should be optimized for the timber frame structure.
- Insulation and Air Sealing: Final checks and improvements to insulation and air sealing should be made to ensure the home is energy efficient. This includes checking for gaps around windows, doors, and other penetrations and sealing them to prevent drafts and energy loss.
- Smart Home Technology: Many homeowners opt to include smart home technology, such as automated lighting, heating, and security systems. These systems offer convenience, enhanced security, and potential energy savings.
Landscaping and Outdoor Spaces
Finally, attention turns to the landscaping and outdoor living spaces:
- Landscaping: Professional landscaping can complement the home’s architecture and help manage site drainage and erosion. It also enhances the outdoor living experience.
- Outdoor Living Areas: Decks, patios, and porches are often integral features of timber-framed homes, providing seamless transitions between indoor and outdoor spaces. These should be designed to match the aesthetic and functional needs of the household.
Completing the interior and exterior finishing is what turns a construction project into a comfortable, beautiful home ready for occupancy. This phase allows homeowners to express their personal style and make choices that will define their living environment for years to come.
Essential Products for Timber Home Building
1. Ready Seal Exterior Wood Stain and Sealer
2. EVOLVE Barn & Fence High Durability Paint
3. NewTechWood Ultrashield Naturale Outdoor Composite Deck Tile